A month of Flutter: create the app

The start of any Flutter project involves installing the Flutter SDK and choosing an editor. I'll be using the Linux flavor of the SDK and Android Studio with the Flutter and Dart plugins installed.
Follow the linked instructions to install the Flutter SDK and set up the Android Emulator or iOS Simulator.
Once you have the SDKs installed run flutter doctor to make sure everything is installed correctly. "Connected device" might fail if you don't currently have the emulator running.
$ flutter doctor
Doctor summary (to see all details, run flutter doctor -v):
[✓] Flutter (Channel beta, v0.11.11, on Linux, locale en_US.UTF-8)
[✓] Android toolchain - develop for Android devices (Android SDK 28.0.3)
[✓] Android Studio (version 3.2)
[✓] Connected device (1 available)

• No issues found!
Now create the base app itself. flutter create <name> is a handy command to do this.
$ flutter create birb
Creating project birb...
  # truncated...
  birb/.metadata (created)
  birb/.gitignore (created)
  birb/README.md (created)
Running "flutter packages get" in birb...                    1.2s
Wrote 64 files.

All done!
[✓] Flutter is fully installed. (Channel beta, v0.11.11, on Linux, locale en_US.UTF-8)
[✓] Android toolchain - develop for Android devices is fully installed. (Android SDK 28.0.3)
[✓] Android Studio is fully installed. (version 3.2)
[✓] Connected device is fully installed. (1 available)

In order to run your application, type:

  $ cd birb
  $ flutter run

Your application code is in birb/lib/main.dart.
One change I'll make here is renaming the birb directory to app. In the future I plan on having the project as a monorepo and include Firebase Functions code in a sibling directory.
Make sure that flutter test passes.
$ flutter test
00:03 +1: All tests passed!
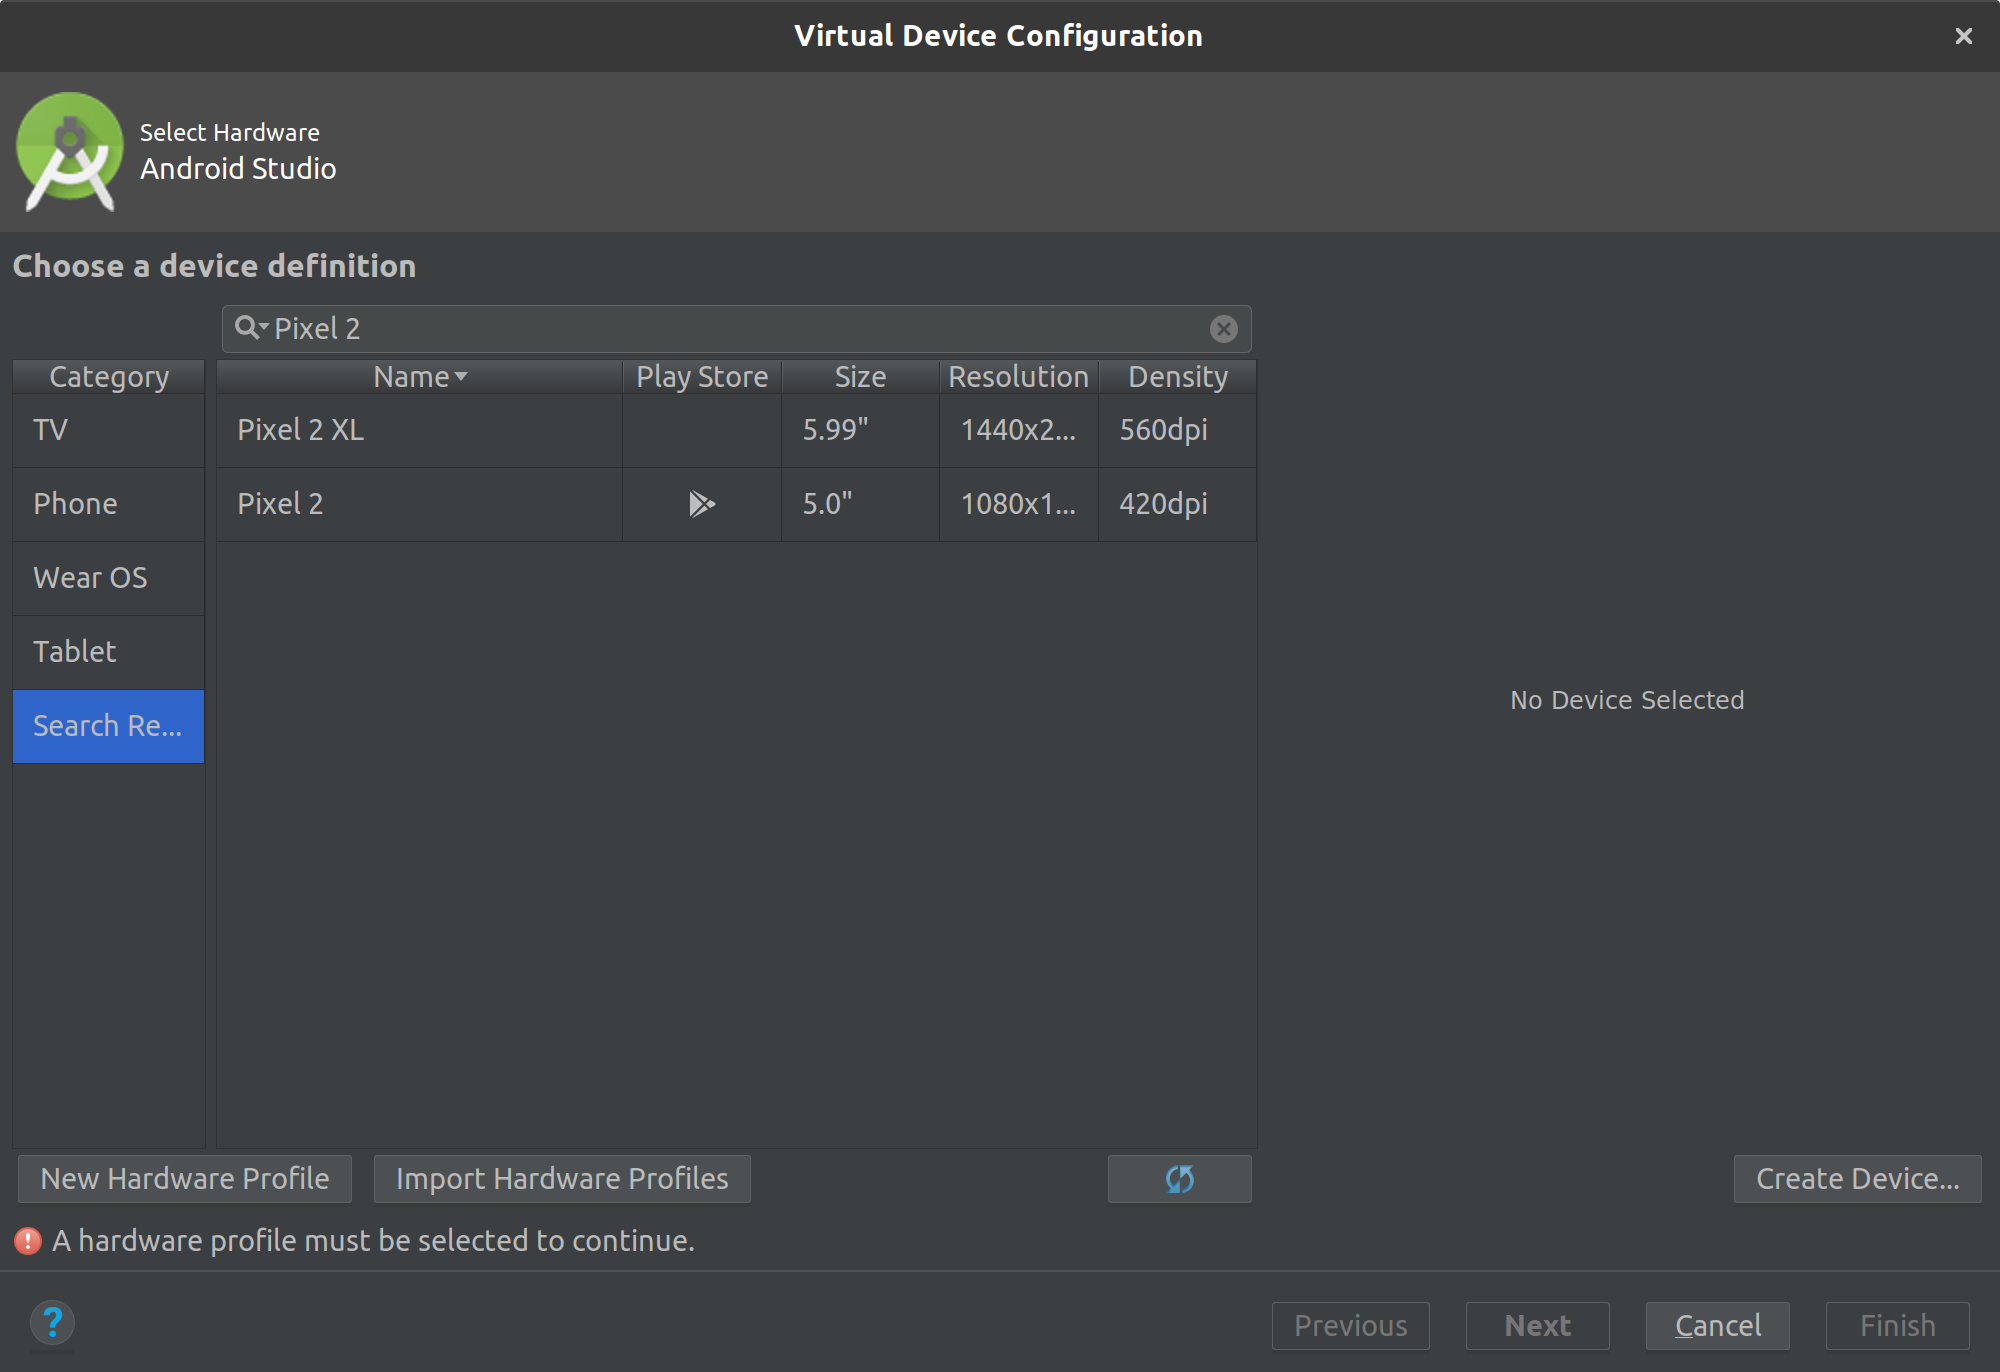
If you haven't already, set up a virtual device to run the app in. Alternatively you could connect a real device.

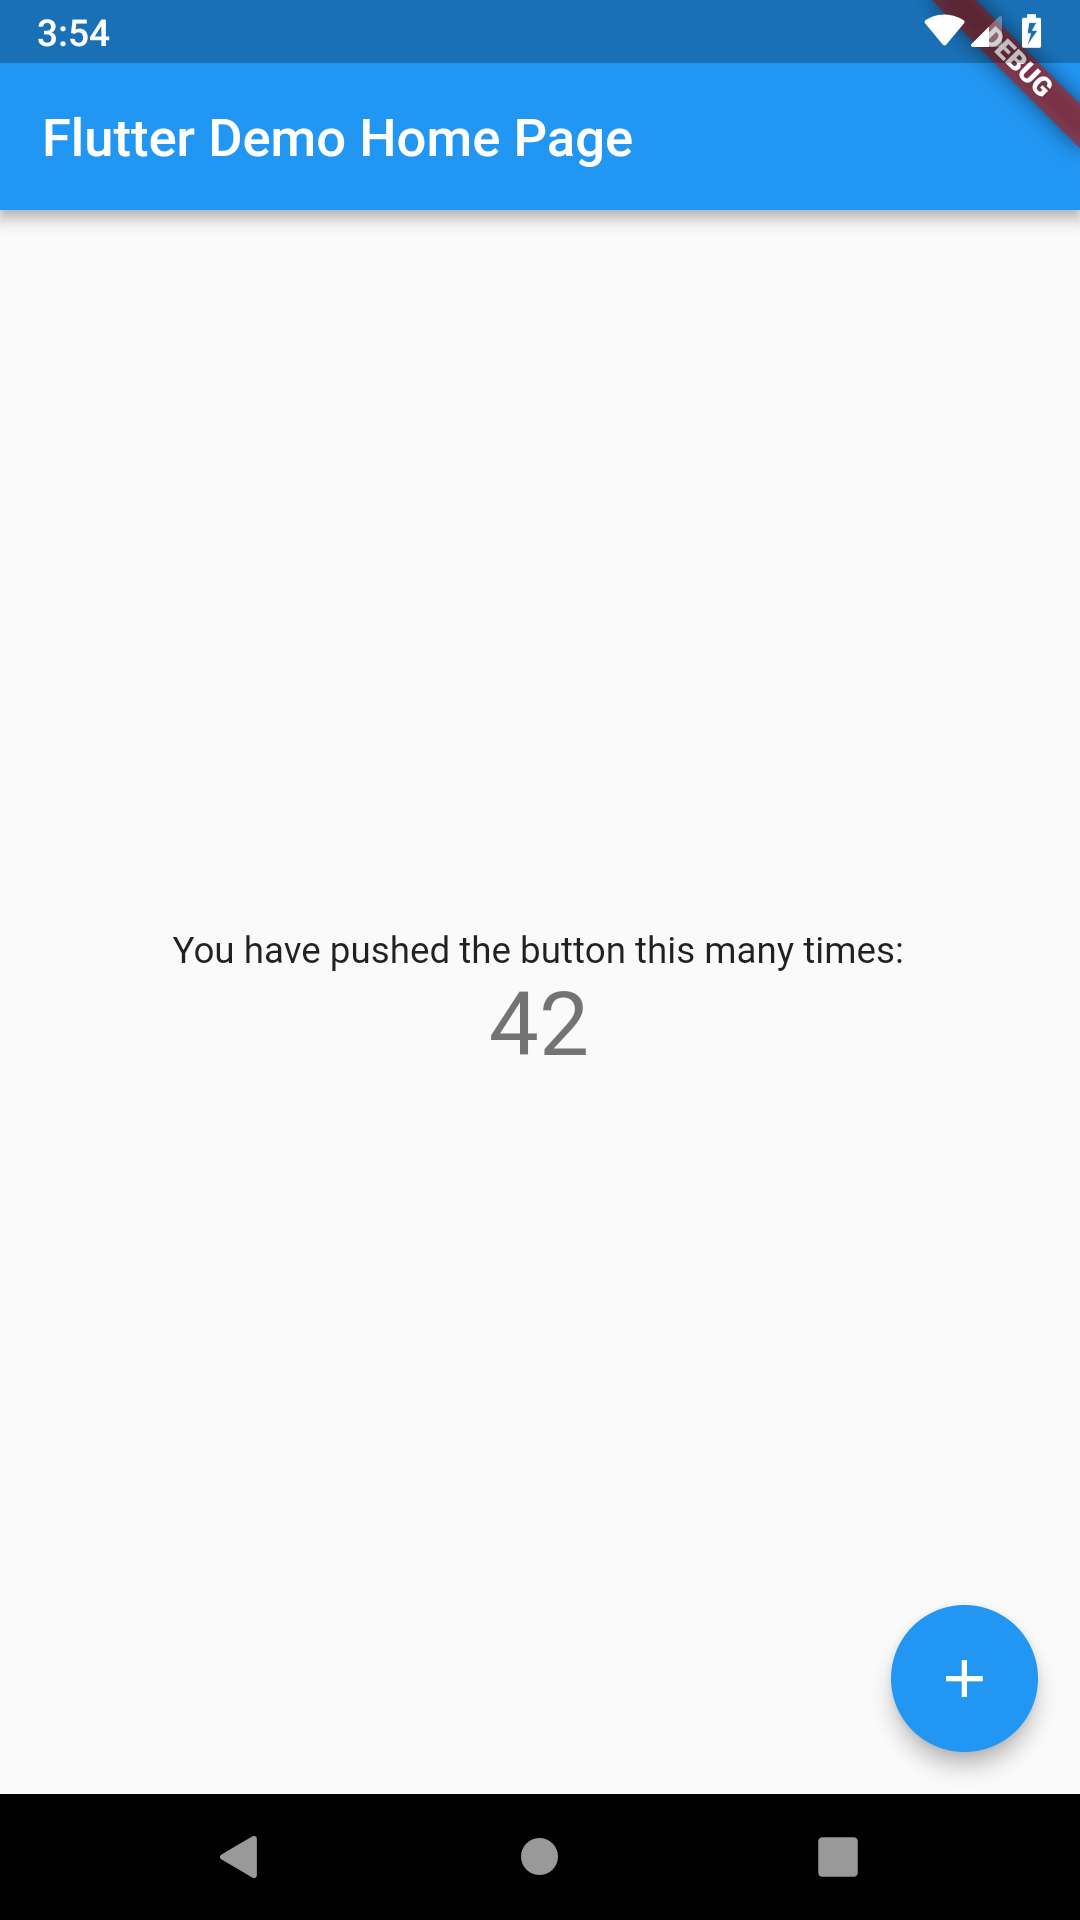
Run the generated app in the Android Emulator (or iOS Simulator) to make sure the app works. For this series I'll be using a Pixel 2 profile with the Play Store. The running app should look something like this:

Tomorrow I'll work on configuring continuous integration to make sure tests are always passing.