JSON API Phase 1: Setup

UPDATED MAR 2020: Updated versions of assumed software and the nvm install command, and moved some Swagger setup steps forward from part 3 to allow swagger to work with the referenced version of Node.
Setting up your projects
Welcome! Today you begin an adventure and you shall embark on a journey that will bring you fame and glory. You shall build an API server and a client app that shall wield its power! Are you excited?
🦗🦗🦗
Alright then, lets assume that silence is because you are speechless and waiting in anticipation. Lets go!
Introduction
For the API, we'll be defining our schema with the Swagger (OpenAPI) specification, conforming to the JSON API specification, and implementing it all with an express server. Once that is all in place, we'll create an Ember app and utilize its JSONAPIAdapter to effortlessly integrate with the API. Furthermore, Ember Data uses the JSONAPIAdapter by default.
NOTE: For this tutorial series, we will be utilizing Swagger 2.0 specification. The OpenAPI 3.0 specification was released last year (2017), but there are currently only a limited number of implementation resources. You will find a wealth of knowledge and implementations which use the 2.0 spec. Nonetheless, I definitely encourage you to read up on version 3.0.
Your journey will be split across the following four phases:
- Phase 1: Setting up your projects (this post)
- Phase 2: Designing your API with Swagger and JSON API
- Phase 3: Developing an API with Express and Swagger
- Phase 4: Building an Ember App that connects to a JSON API server
Assumptions
This tutorial assumes that you have the following setup within your dev environment:
- Node LTS Carbon (v13.5.0 at the time of writing)
- NPM (v6.13.7 at the time of writing)
- Homebrew
- Yarn
For Node, I highly recommend using a node version manager. Two popular ones are n and nvm. If you'd like to install nvm use the command below:
curl --output - https://raw.githubusercontent.com/nvm-sh/nvm/v0.35.2/install.sh | bash
— See nvm on Github for more information
On the other hand, if you wish to forgo using a version manager, just install the latest LTS Carbon version of Node.
Project Setup
To setup both projects, we'll be employing two CLIs: Ember CLI and Swagger
To start off, create a project directory:
mkdir ember-jsonapi-demo && cd "$_"
Then install the ember cli:
npm install --global ember-cli
# or, equivalently
npm install -g ember-cli
And also install the swagger cli (swagger-node):
npm install -gq swagger
Ember Project
Use the Ember CLI to generate and configure the web client project:
ember new client
cd client
ember serve
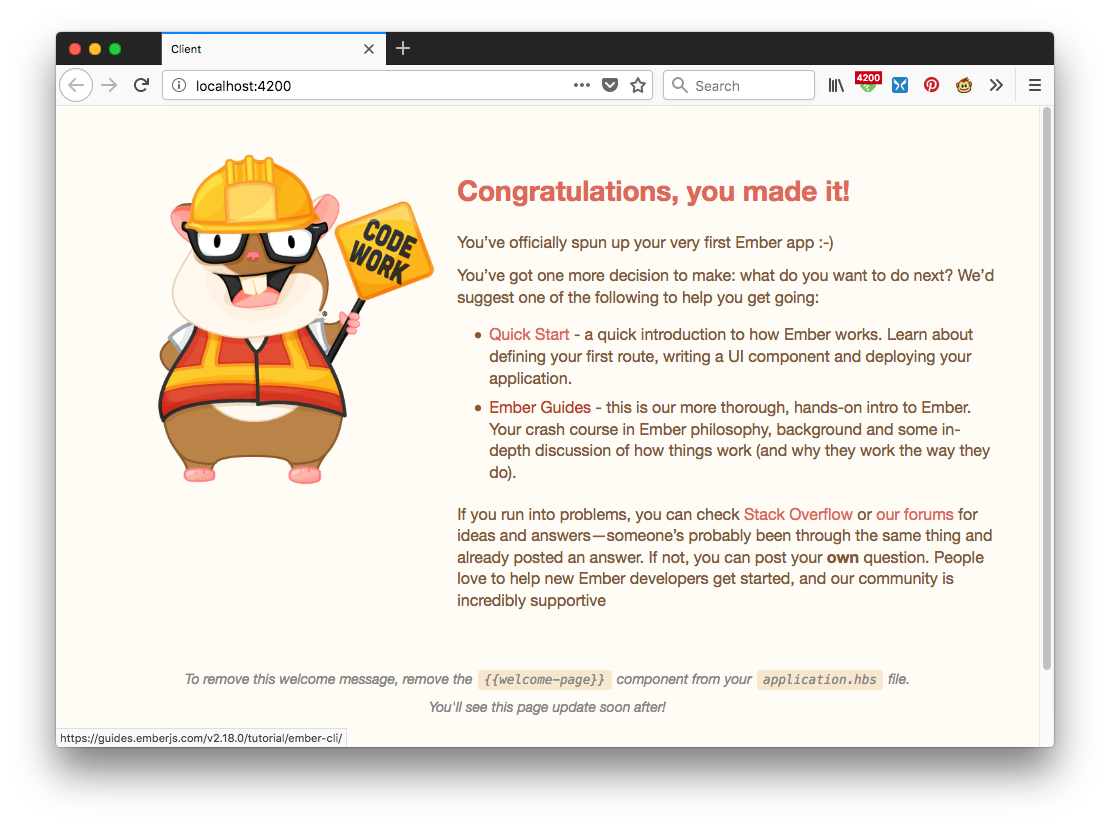
In a moment, your ember client app should be up and running. Feel free to follow Ember's quick start if you'd like to learn more. Otherwise, if you load the web page now, it should look like this:
API Server
Next we'll be using the swagger CLI tool to configure the API server project. The swagger CLI adds express-swagger-mw to your project. This package contains an express middleware wrapper around swagger-node-runner. swagger-node-runner is a swagger server implementation that uses bagpipes and sway. If your project has more complicated requirements, you'll want to dig into the documentation for these projects. For our use case, these swagger internals will just work out of the box.
If you haven't yet, use CTRL+C to stop the ember server, and enter the following commands:
cd ..
swagger project create api
The CLI should immediately prompt you to select a framework. For this demo, select express:
? Framework?
  connect
❯ express
  hapi
  restify
  sails
Then cd into the directory:
cd api
We'll be using yarn to install other dependencies in Part 3, but in the meantime to get swagger running under our version of Node we need to perform some advance setup.
yarn install
Upgrade swagger-express-mw to the latest version:
yarn upgrade swagger-express-mw --latest
Add the swagger_params_parser pipe to swagger_controllers inside config/default.yaml:
    swagger_controllers:
      - onError: json_error_handler
      - cors
      - swagger_params_parser
      - swagger_security
      - _swagger_validate
      - express_compatibility
      - _router
Now we can run the server
swagger project start
Then, in another terminal window, use the command below to test with curl:
$ curl http://127.0.0.1:10010/hello?name=Scott
{ "message": "Hello, Scott!" }
Congratulations! You've completed the project setup.
Stay tuned for Phase 2: Designing your API with Swagger and JSON API