Hooked on Phoenix

Hello again. Thank you for sticking with me through the first three posts in this series. We are finally to the part that triggered the series in the first place. Phoenix is great at helping us stay focused on the server end of the client-server paradigm. LiveView's reactivity and DOM patching makes it so easy to write code from the server perspective, but sometimes we really need to use a javascript widget built by someone else. How do we integrate that js component into LiveView? If you look back at the second post, you'll see my first attempt. It only worked when the user was going directly to the document edit page because it tried to leverage native DOM events. In this article we are going to find out how to wire up js components with LiveView in the documented way which is to use phx-hook.
What are Hooks?
A hook is a named javascript object that bundles up related javascript functions to manage a DOM element. Hooks have lifecycle methods that phoenix calls at appropriate times to augment the patched html with custom functionality. The main lifecycle function is mounted which gets called after phoenix has mounted (surprise!) the DOM element. It is the spot you use to initialize the js library to decorate the DOM element. In our demo app we've been working toward integrating the CKEditor rich text editor. Doing the base integration is as simple as creating a hooks object with a mount function to initialize CKEditor. The CKEditor code does the heavy lifting of linking the editable area to the textarea html input that phoenix inserts into the DOM and keeps the textarea value up-to-date with the editable area the user sees. Here's the simplest version of the hook.
// inside app.js
import ClassicEditor from '@ckeditor/ckeditor5-build-classic';

// csrfToken code is provided by default
let csrfToken = document.querySelector("meta[name='csrf-token']").getAttribute("content")
// next is usually socket init
// let liveSocket = new LiveSocket("/live", Socket, params: {_csrf_token: csrfToken}})

const Hooks = {
  Editor: {
    mounted() {
      ClassicEditor
      .create( this.el )
      .then( editor => {
        console.log( editor );
      })
      .catch( error => {
        console.error( error );
      });
    }
  }
};

const socketOptions = {
  hooks: Hooks,
  params: {
    _csrf_token: csrfToken
  }
};

let liveSocket = new LiveSocket("/live", Socket, socketOptions)
We create a Hooks object that eventually gets passed to new LiveSocket as part of the socket options object. We declare a hook called Editor which has one function nounted that inits the CKEditor. Now all we have to do is link this hook code to a specific spot in the DOM. To do that we add the phx-hook="Editor" attribute to the appropriate spot in the heex template. The DOM element marked with this attribute must also have an id so the hook can be attached. In our case we want to wrap the textarea in a div and put the id and phx-hook there, so we end up with this:
    <div id="document_editor" phx-update="ignore">
      <%= textarea f, :data, phx_hook: "Editor" %>
    </div>
    <%= error_tag f, :data %>
There are a couple important things to notice here. Since we are not leaving the view when the form is submitted, we had to add the phx-update="ignore" to keep LiveView from replacing the textarea. Also note that the hook which is usually written as phx-hook has to be set to the atom phx_hook: when used on the input field. Great! we have a working rich text editor. Except using phx-update="ignore" has turned off update processing for our textarea which will be a problem when we add more multi-user features. If we leave the phx-update off, when the form is submitted, the rich text editor is replaced with the plain textarea. That's not what we want either! We'll come back to this problem later. First we need to figure out how to notify other users who are editing the same document we are.
Where Two or Three are Gathered
So how do we inform our collaborators about changes we have made to our shared document? We can build on top of the PubSub module we built in the last installment. We began our LiveView mount with EditorWeb.Endpoint.subscribe(DocumentPresence.topic()) and we can reuse that for our purposes here. All we need to do is add a broadcast message and a handle_info function to respond to the event. The logical place to handle the broadcast is when we save the document record. Here is a sample implementation of our notification code.
@impl true
def handle_event("save", %{"document" => document_params}, socket) do
save_document(socket, document_params)
end
@impl true
def handle_info(
%{event: "document_saved", payload: %{from_pid: from_pid, id: id}},
socket
)
when from_pid != self() and id == socket.assigns.document.id do
{:noreply, assign(socket, :changeset, Documents.change_document(socket.assigns.document))}
end
@impl true
def handle_info(%{event: "document_saved"}, socket), do: {:noreply, socket}
defp save_document(socket, document_params) do
case Documents.update_document(socket.assigns.document, document_params) do
{:ok, document} ->
EditorWeb.Endpoint.broadcast(DocumentPresence.topic(), "document_saved", %{
id: document.id,
from_pid: self()
})
{:noreply,
socket
|> assign(:changeset, Documents.change_document(document))
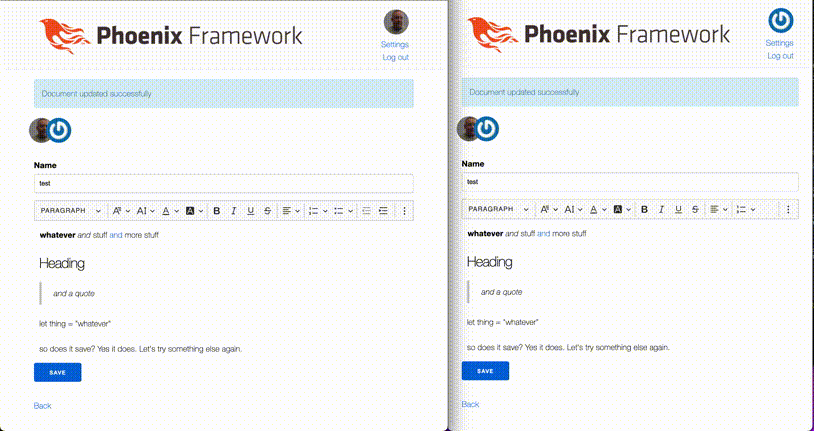
|> put_flash(:info, "Document updated successfully")}
{:error, %Ecto.Changeset{} = changeset} ->
{:noreply, assign(socket, :changeset, changeset)}
end
end
This is all relatively straightforward, but there are some things to think about. First, the save_document function only calls broadcast if the document save is successful. That makes sense here, but I can imagine other use cases where you might want to broadcast an error condition to all the users too. Also notice that broadcast takes three parameters, the topic, event and the event payload. In the payload I included both the document id and the process id. When Phoenix broadcasts the event all subscribed processes including the originator receive the event. Sending the from_pid allows the originating process to ignore the incoming message. Technically there has to be a function that can handle the message, so there's a one liner just below that catches all the ones we don't want to handle and returns a do-nothing response. For the users that need this message, LiveView would send a diff to update the html as usual. But in our case that item is marked phx-update="ignore" so the message is empty.
Sending messages to all users is something that would be difficult in other environments, but the BEAM makes it very easy in Phoenix LiveView.
Shouting into the Void
OK, so we have messages being passed around and a rich text editor working, but the two of them aren't speaking to each other. What do we have to do to save this relationship? As it happens, getting them to listen to each other is the key. We can connect them in a couple of ways. For this post we are going to choose the simplest.
In oder to keep LiveView from overwriting the CKEditor widget when someone else saves their changes we added phx-ignore to the textarea. We must remove that in order to receive the updates from the server. In order to not lose the CKEditor widget we need to switch from the ClassicEditor to the DecoupledEditor. The ClassicEditor can be configured to render somewhere other than the location of the textarea element, but it still hides the anchor element and makes its own target. That won't work for us because LiveView is only aware of the markup the server generates. We need our editor to render inside a container that LiveView knows about. To do that we need to update our LiveView template like this:
    <%= textarea f, :data, phx_hook: "Editor", for: "document_editor" %>
    <%= error_tag f, :data %>
    <div id="document_editor_toolbar" phx-update="ignore" />
    <div id="document_editor" phx-update="ignore" />
Notice the two new elements. They need to be targeted easily so they have ids. They also need LiveView to not mess with them once they are created so they have the phx-update="ignore" attribute. Now that we have a location to put the editor, let's update the code in app.js to initialize them.
let Hooks = {
  Editor: {
    mounted() {
      this.el.style="display: none;"; #1
      this.target = this.el.getAttribute('for'); #2
      DecoupledEditor
      .create( document.querySelector(`#${this.target}`) ) #3
      .then( editor => {
        editor.model.document.on( 'change:data', () => { #4
          data = editor.getData();
          if ( data != this.el.value ) {
            console.log( 'The data has changed!', data );
            this.el.value = data;
          }
        });
        document.querySelector(`#${this.target}_toolbar`).appendChild( editor.ui.view.toolbar.element ); #5
        this.editor = editor;
        editor.setData(this.el.value);
      })
      .catch( error => {
        console.error( error );
      });
    },
    updated() {
      this.el.style="display: none;"; #6
      this.editor.setData(this.el.value) #7
    }
  }
};
Our hook has gotten a bit more complicated. That is partly due to the more complicated editor setup and partly due to adding an updated method to our hook object. Let's break this down a bit. The steps below map to the lines marked in the code listing.
- Hide the original textarea since CKEditor no longer does this for us.
- Get the target id set in the
data-forattribute. We could more easily hard code this but then we lose flexibility. - Initialize the editor for the given id.
- Add an event handler to the editor to copy the altered state back to the textarea for later submission.
- Attach the toolbar to the editor widget.
- On update re-hide the textarea since it will lose it's
display: none;. - Copy the updated textarea value into the running text editor.
And it works! But those of you who are paying close attention will notice a problem. If you are in the middle of editing and someone else saves their work, their work will overwrite yours. That's not what we want! In the fifth and final episode of this journey we will upgrade our editing experience so that updates can be integrated into the document you are editing instead of replacing it. Doing this will require a deep dive into CKEditor's collaborative editing support. As usual, this post comes with a branch in our repo.