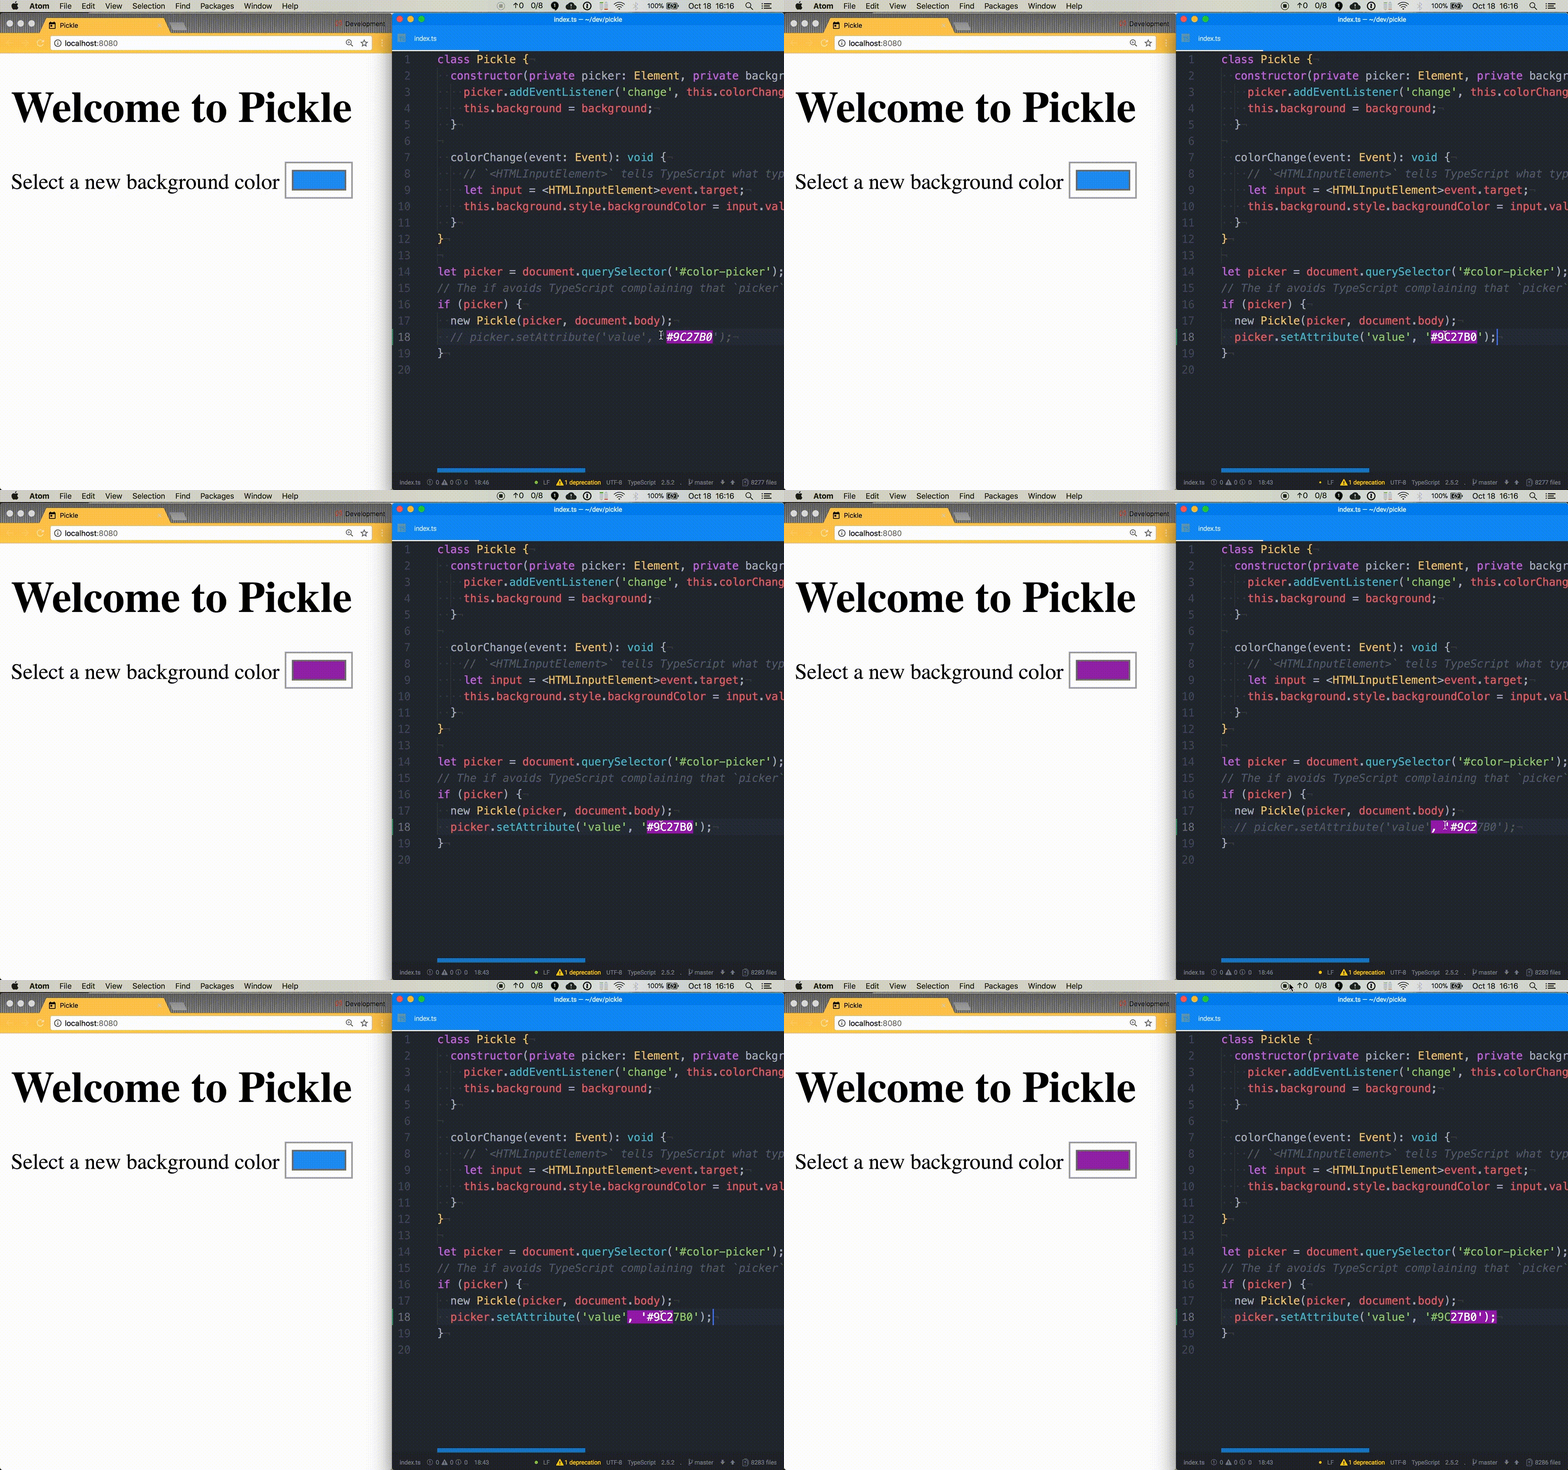
Getting started with Webpack: Dev Server

Developers want to move fast. 🚀 🚀 🚀 Manually triggering a rebuild of your source code after ever little change is slow and annoying. With the Webpack Dev Server and Webpack watch we can greatly improve our code, build, try cycles. We'll use the existing code from the Getting Started with Webpack: TypeScript blog post as a starting point.
For this guide we'll be using Node v8.5, NPM v5.5, TypeScript v2.5, and Webpack v3.8. The following commands will tell you which versions you have installed. If they are not exact they may still work. TypeScript and Webpack will be installed a little further on.
$ node --version
v8.5.0

$ npm --version
5.5.1
You might notice that Webpack is at a different version than the previous blog post. They are constantly adding features and fixing bugs so they release pretty often. The easy way to update your dependancies is with npm update from within the application directory.
$ npm update
npm notice created a lockfile as package-lock.json. You should commit this file.

+ typescript@2.5.3
+ webpack@3.8.1
updated 7 packages in 11.177s
Currently we have the command npm run build to compile our code and npm run serve to run a development server on http://localhost:8080. Every time you make a change to the source code you have to manually execute npm run build. Let's simplify this so that you just have npm run serve and build will automatically run when code changes.
The first step is to get builds happening automatically when code changes. With Webpack that's quite easy to accomplish with the --watch flag. Update the package.json to have a new watch script.
{
  ...
  "scripts": {
    "test": "echo \"Error: no test specified\" && exit 1",
    "build": "webpack",
    "serve": "http-server",
    "watch": "webpack --watch"
  },
  ...
}
Now if you run npm run watch you'll notice that the command never ends. That's because Webpack is "watching" your source code for changes.
Why not update build to include --watch? Sometimes you want to run a one-off build and if you combine them you have to start the watch, let it build once, and then close it.
$ npm run watch

> pickle@1.0.0 watch /Users/abraham/dev/pickle
> webpack --watch

Webpack is watching the files…

ts-loader: Using typescript@2.5.3 and /Users/abraham/dev/pickle/tsconfig.json
Hash: 16fb35ccc9f9b3f14c5d
Version: webpack 3.8.1
Time: 957ms
    Asset     Size  Chunks             Chunk Names
bundle.js  3.27 kB       0  [emitted]  main
   [0] ./index.ts 775 bytes {0} [built]
If you make a change to index.ts and save the file you'll see the file get built again.
To get an initial combined command is actually very easy. Change the serve script command to look like the following. The single & will tell most systems to run the command before and after it in parallel.
{
  ...
  "serve": "npm run watch & http-server"
  ...
}
You can run a single command npm run serve and Webpack will be watching for and recompiling code changes in one thread and http-server will be serving those results in another thread. One downside to this is that both TypeScript compilation messages and http-server messages will mix with each other in the output.
You could leave the setup like this but moving to the Webpack Dev Server will enable some pretty hot features we'll cover in future blog posts so let's go ahead and do that now.
Add the webpack-dev-server package.
$ npm install --save-dev webpack-dev-server

+ webpack-dev-server@2.9.2
added 165 packages in 10.49s
You'll need to tell the Dev Server what to serve. Currently we are serving the index.html file from the root of the directory.
module.exports = {
  ...
  devServer: {
    contentBase: path.resolve(__dirname, '.')
  }
  ...
};
Next update the package.json serve command again, this time to use the new Dev Server.
{
  ...
  "serve": "webpack-dev-server --open"
  ...
}
Note the --open flag, this will tell Webpack to open the site in a browser window.
It's so much work 👩💻 though to have to still reload the site in the browser every time you make a change. Let's kick it up a notch and add some Hot Module Replacement #magic 🕴. You'll need the html-webpack-plugin module installed first.
$ npm install --save-dev html-webpack-plugin

+ html-webpack-plugin@2.30.1
added 38 packages and removed 11 packages in 4.662s
To enable HMR make a couple of changes to webpack.config.js.
Require the needed packages:
const webpack = require('webpack');
const HtmlWebpackPlugin = require('html-webpack-plugin');
...
Enable hot for the devServer:
module.exports = {
  ...
  devServer: {
    contentBase: path.resolve(__dirname, '.'),
    hot: true
  }
  ...
};
Add three plugins:
module.exports = {
  ...
  plugins: [
    new HtmlWebpackPlugin({
      filename: 'index.html',
      template: 'index.html'
    }),
    new webpack.NamedModulesPlugin(),
    new webpack.HotModuleReplacementPlugin()
  ]
  ...
};
HotModuleReplacementPlugin just says "hey, use the new hotness" and NamedModulesPlugin cleans up the build logs to only show the entry points we define.
HtmlWebpackPlugin is a little more interesting. It will take the template file that is scoped to the root of the directory and output it to the filename within the dist directory. The main reason for this is so that Webpack can automatically add the compiled <script> tags required for HMR.
The final change is to remove <script defer src="dist/bundle.js"></script> from the index.html in the root directory. Since Webpack is now adding that automatically we don't want it included multiple times.
🏆 Now you can write code, save it, and Webpack will push the changes to the browser without you ever having to leave the editor.

You can view the source for the progress so far on GitHub and check out the next article Getting started with Webpack: Source Maps.